Coloring with ControlNet
Introduction
I trained a ControlNet for interactively coloring line drawings. I was inspired partly by a Twitter post by the Lvmin Zhang, the original author of ControlNet and Style2Paints project, and partly by my niece, who can spend hours filling up her coloring books.
More generally, I am excited by how deep learning provides a way to design new user interactions. The basic idea is to conceive of a new interaction (e.g. color strokes), procedurally generate examples of the interaction from some target (e.g. colored images) and train a model to map interactions to target (e.g. from color strokes to colored images).
|
Now that I’m winding down this experiment in order to reduce my expenses on Lambda Labs, I’m writing this blog post to document my progress.
Model and Dataset
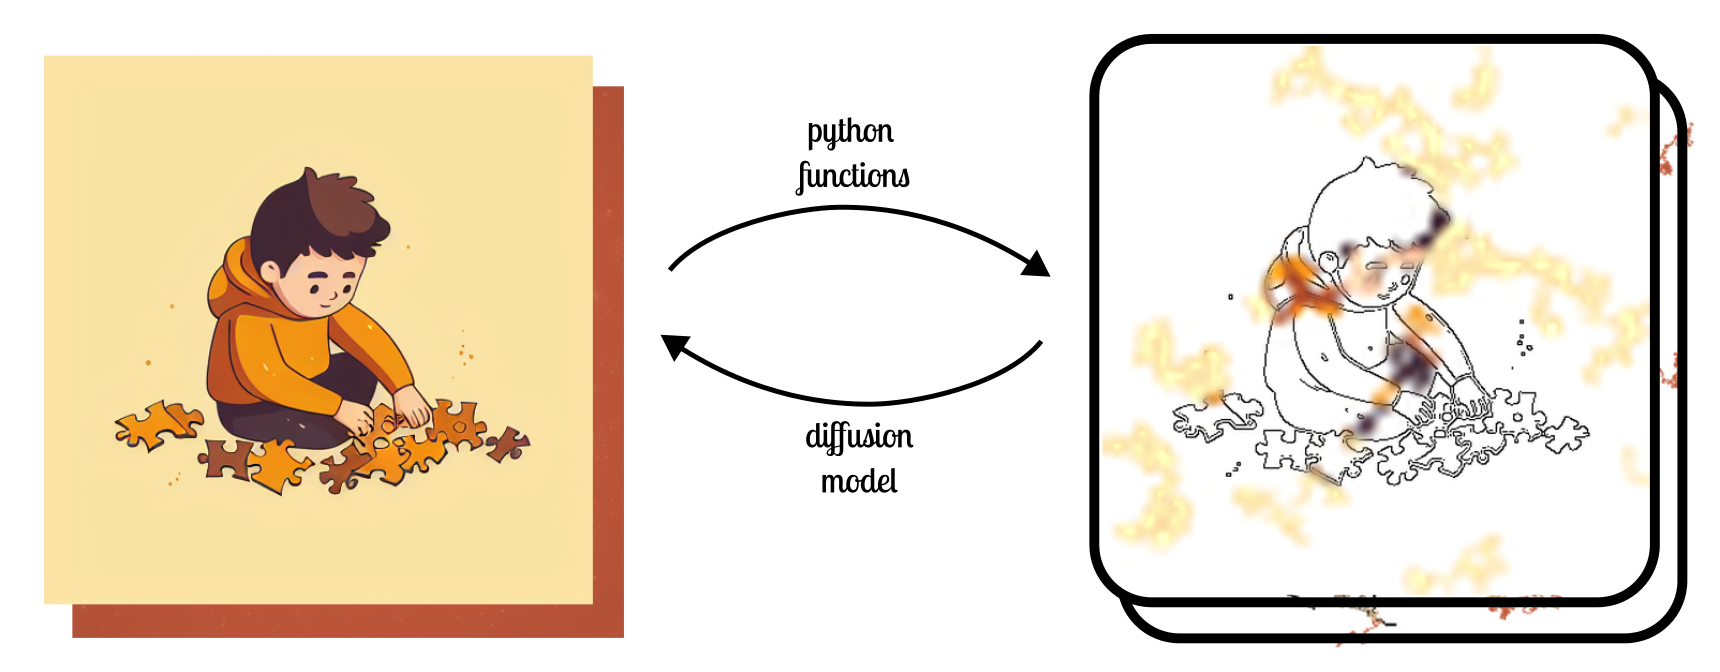
I trained the popular ControlNet diffusion model (based on Stable Diffusion) that synthesizes images matching a given hint. Training such a model requires a paired dataset of target images and hints. Usually, during training, the hint is generated from the target image procedurally. In the simplest case, by applying Canny Edge Detector or a pre-trained Depth-estimation model to the target image. Using this paired dataset, The model learns to go the other way, i.e. from the hint to the target image. Examples of hints from the original ControlNet paper are Canny, HED edges, depth maps, human pose and even simulated doodles.
In our case, we concoct two hints from the target image, a Canny edge map and a few procedurally generated color strokes. These are encoded as a 5 channel image, 1 channel for Canny and 4 for the RGBA color strokes. The extra alpha channel delineates the presence or absence of the stroke.
The target image set I used, was a combination of Midjourney Messages and Google Conceptual Captions. Both of these are conveniently available as caption, image URL pairs. Since each training iteration of ControlNet is so slow (~ 1it/s), I found it convenient to simply fetch these URLs in my dataloading loop instead of downloading all files upfront. This saved me a lot of money for storing data.
I generated color strokes using a simple algorithm. I chose a random pixel in the target image and began a random walk for certain steps. I picked all the colors from the target during this walk and applied it on my color stroke map. With some probability, the random walk was made thicker than 1 pixel, using a max-filter. Again, with some probability, the color stroke map was blurred to discourage the model from learning the trivial copy operation, where it simply copied the color stroke onto the target image without doing anything meaningful elsewhere.
The code for the color stroke generator can be found below:
def add_color_stroke (color_strokes, source_img) :
    # get shape of image, starting point and length of walk
    h, w = source_img.shape[:2]
    st_y, st_x = random.randint(0, h - 1), random.randint(0, w - 1)
    L = random.randint(200, 1000)

    # construct walk
    dirs = np.array([[-1, 0], [0, -1], [0, 1], [1, 0], [-1, -1], [-1, 1], [1, -1], [1, 1]], dtype=int)
    rng_idx = np.random.randint(0, 8, (L,))
    steps = dirs[rng_idx]
    px_points = np.cumsum(steps, axis=0)
    px_points[:, 0] += st_y
    px_points[:, 1] += st_x

    # find when walk goes out of bounds and truncate it
    y_mask = (px_points[:, 0] < h) & (px_points[:, 0] >= 0)
    x_mask = (px_points[:, 1] < w) & (px_points[:, 1] >= 0)
    ff_id = find_first_false(y_mask & x_mask)
    px_points = px_points[:ff_id]

    # create mask from walk
    mask = np.zeros((h, w), dtype=np.uint8)
    mask[px_points[:, 0], px_points[:, 1]] = 255

    # optionally, dilate the walk
    thickness = random.choice([0, 1, 2, 3])
    if thickness > 0 :
        footprint = np.ones((thickness, thickness), dtype=np.uint8)
        mask = skimage.filters.rank.maximum(mask, footprint)

    # copy over colors from input image
    color_strokes[mask > 0, :3] = source_img[mask > 0]
    color_strokes[mask > 0, 3] = mask[mask > 0]
Infrastructure and Costs
Now, onto some details that give you a sense of the investment required to run such experiments. I rented an A10 24GB GPU on Lambda Labs. I have used GCP before but I loved the simplicity of what Lambda Labs offers. For example, I can use it using their cloud computers using tools I already know. I don’t have to worry about the gcloud SDK. This is a minor pain point, but I do think it makes a difference. Lambda Labs also offers a permanent file system, which means that your data is always backed up even if you terminate your instances.
All that said, it is very expensive. Last year, the hourly cost of renting A10 on Lambda Labs was 0.60$ but this year they have increased it to 0.75$. They justified this by saying they’ll provide more GPU instances to cover the demand. Even so, GPU instances are almost always unavailable (e.g. I have never seen an available A100 with my naked eye). Normally, I just run a script that polls their API for available GPUs and wait for something to happen.
For this experiment, in particular, I ran a training job for around 2 months. Since only batch size of 1 can fit into the A10’s memory and ControlNet’s are finicky with low batch sizes, I used gradient accumulation for an effective batch size of 64. The total cost of this run must have been around 1,000$.
Final Thoughts
I’m aware of the broader discussions around Generative AI and their impact on people’s livelihood. But I do think they are quite inadequate for realizing really specific visions for which companies tend to hire commercial artists. I feel this way, not because I’m a commercial artist, but because, sadly, I have spent a lot of time cherry-picking examples from these models to make demos. And so, I know that they fail a lot. Maybe, that’ll change tomorrow with OpenAI’s SORA but even then, I’m sure customization will be a key open problem. And to that end, perhaps all we can do is to build better tools for people.
Anyway, before I get ahead of myself, at its current stage, this project can be improved by a lot. I have two directions in mind at the moment. It may be, that the current approach will work, if only trained longer. If I had to start over, I would build on Stable Cascade, the latest Latent Diffusion model by Stability AI. The core text-conditional diffusion model here operates on a very low dimensional latent space, with spatial dimensions 12 by 12 compared 32 by 32 for Stable Diffusion (for 512 by 512 images). For the same compute budget, this would give me 4x more training steps.
The other direction that I’m thinking of is maybe this problem is not amenable to Latent Diffusion Models. While these may be adequate for structural hints (e.g. Canny, human pose or depth maps), it might be a better idea to train with the denoising diffusion loss in the image space (where the exact pixel color values are being compared with). Luckily, there is a large image space diffusion model DeepFloyd IF that I can work with.